- /
- /
- /
Filter Editing with the Dashboard Editor
Filter Editing in Analytics allows you to decide what data shows up in a dashboard by default when it is opened.
It’s a powerful way to save time running reports with complex filter criteria that you use on a regular basis.
- You can add your own custom filters to any dashboard
- Make dashboards filtered down to critical info for just that team, or person
- End repetitive filtering tasks by building the dashboard with the filters that you use daily
- Quickly see the data that matters most to you
See below the video for an example with detailed instructions.
In the following example, we will use the filter editor to remove a vendor from the dashboard by default.
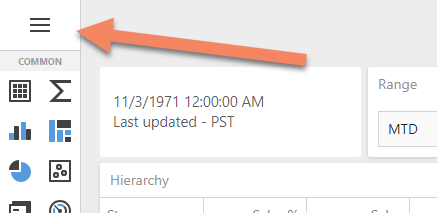
Step 1 – After creating a copy of the dashboard you would like to filter, click the Edit icon. Ask your company’s administrator if you do not have edit permission:

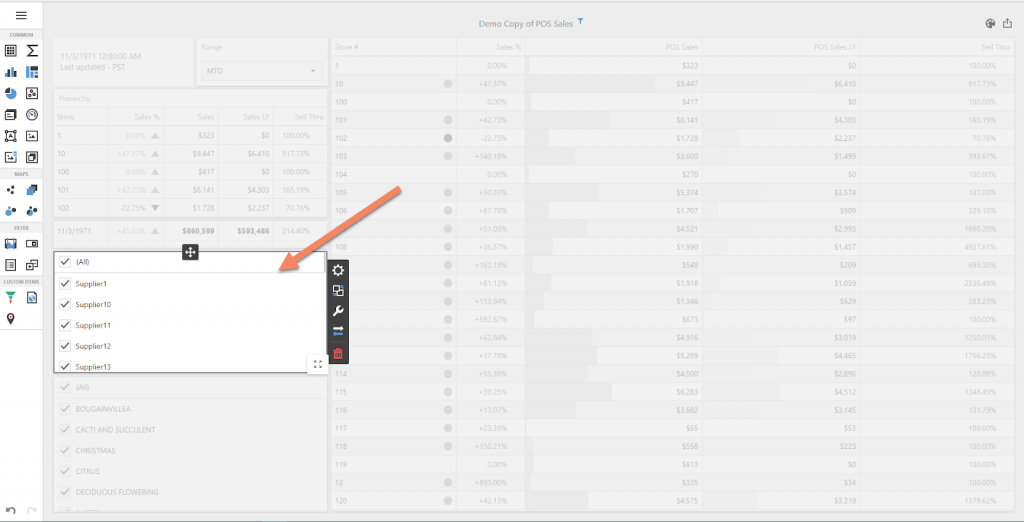
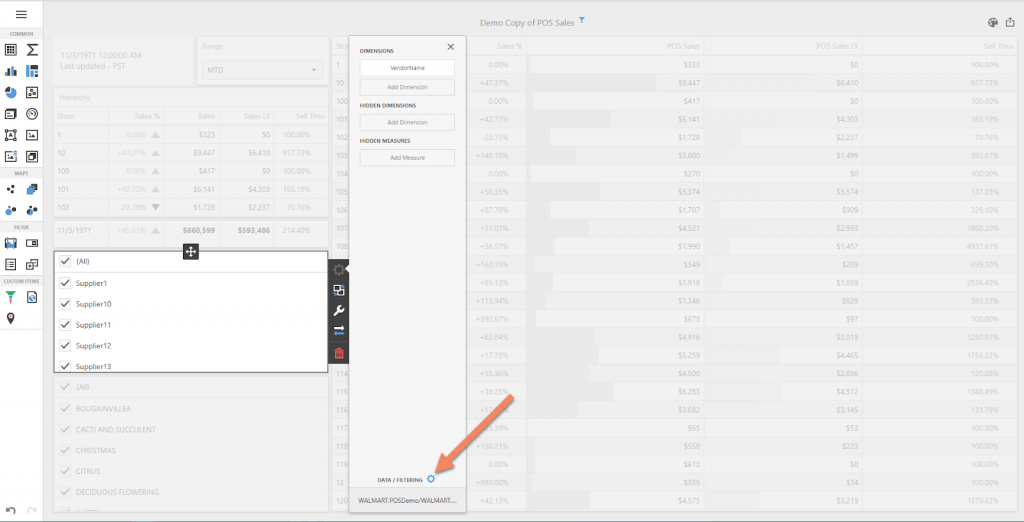
Step 2 – Once the dashboard editor has opened, select a filter or grid you would like to edit. In this case, since we are removing a supplier, we’ve selected the Supplier filter:
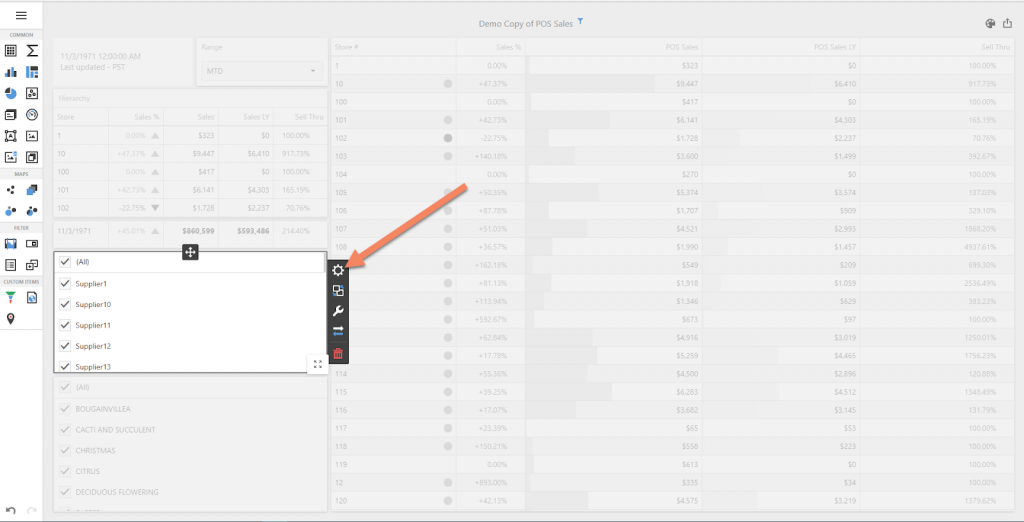
Step 3 – Then select the gear icon:
Step 4 – Click “Data/Filtering:”
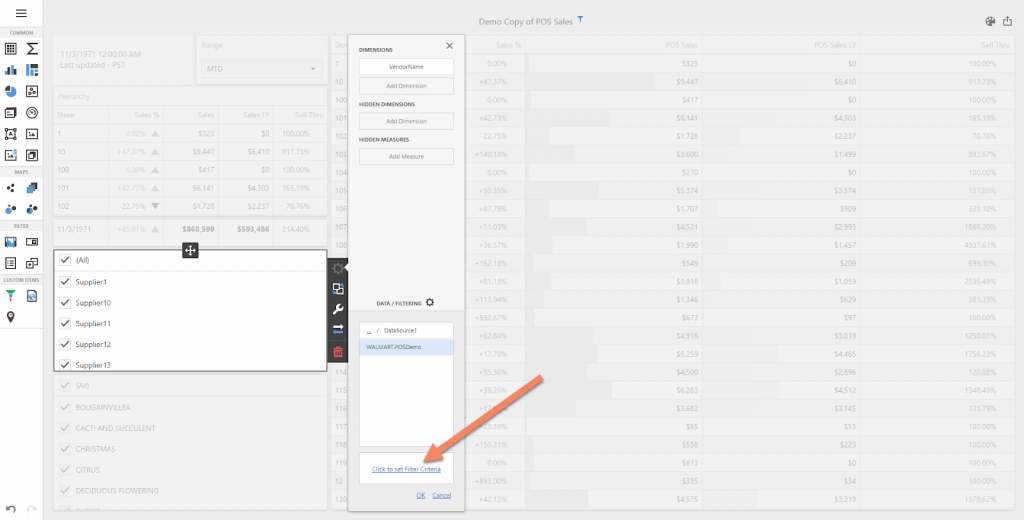
Step 5 – Click “Click to set Filter Criteria:”
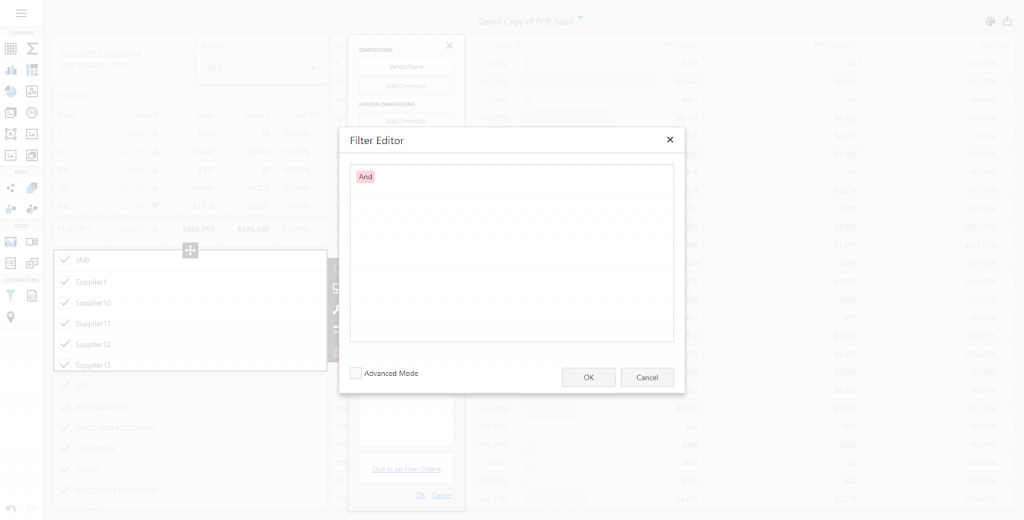
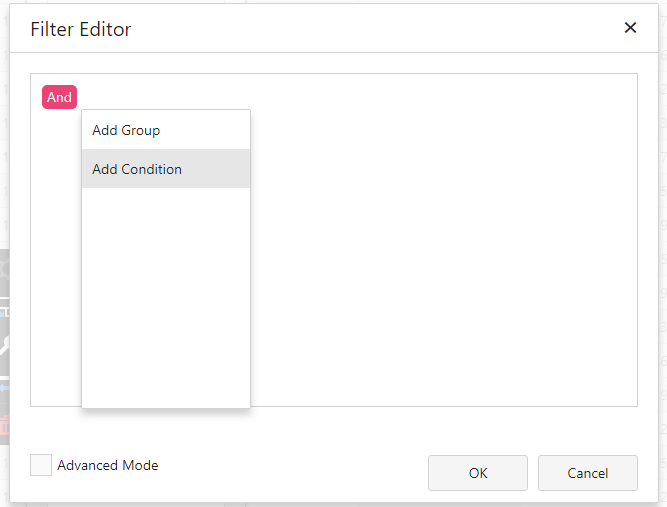
Step 6 – The “Filter Editor” window will appear. We will add our filter criteria here:
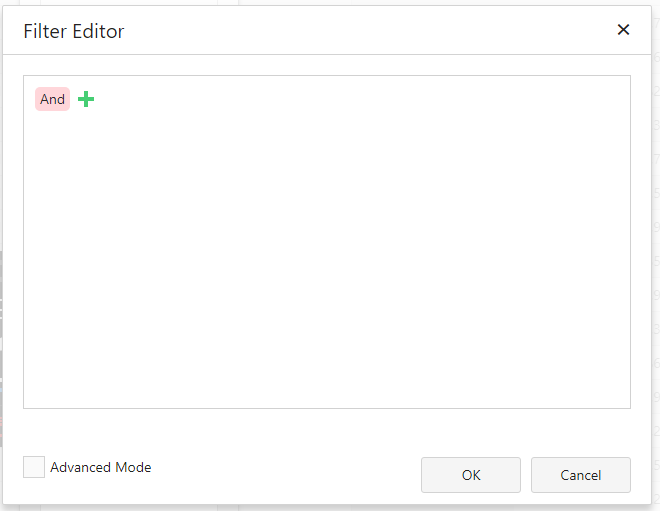
Step 7 – Hover your mouse cursor over the green plus sign. Select “Add Condition” from the drop-down menu that appears.
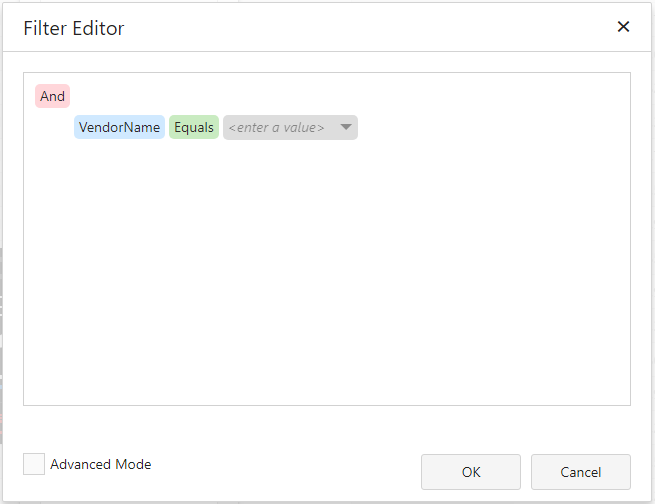
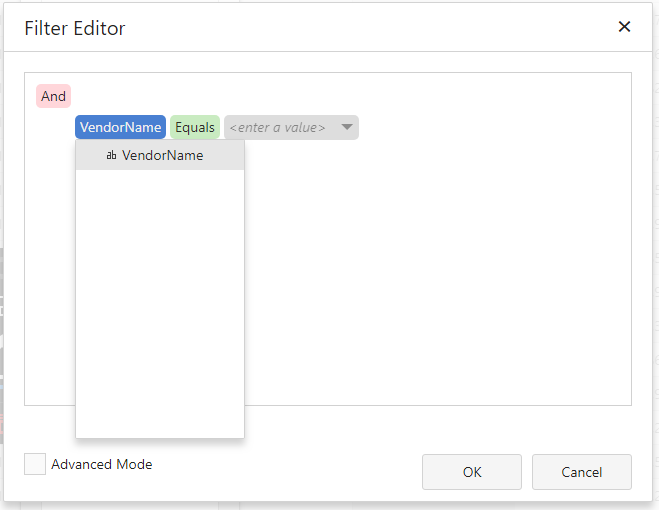
Step 8 – Dimensions that can be filtered by will appear on the left in blue. Click the dimension to change it. In this case we will select VendorName.
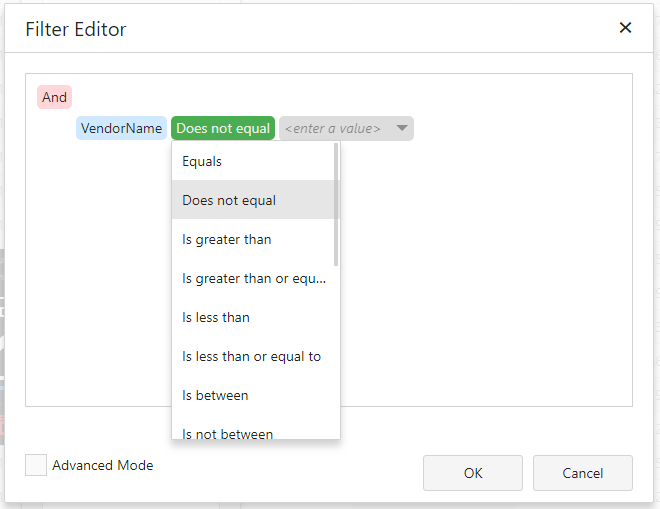
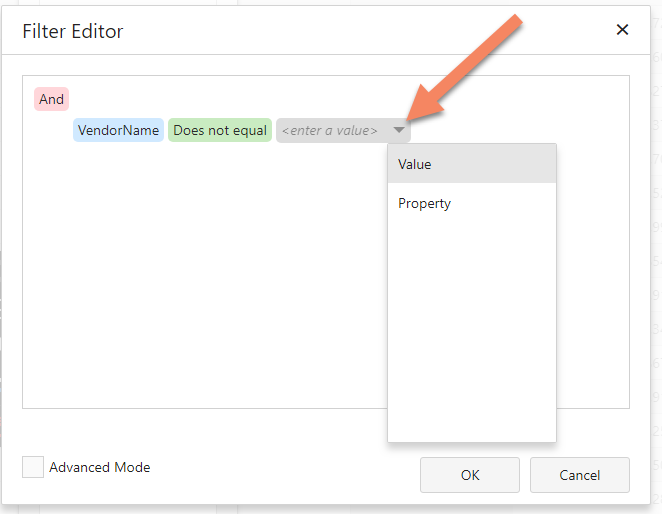
Step 8 (cont’d) – Choose an operator. In this case we want to exclude a vendor, so we select “Does not equal.” Then click the grey drop-down on the right and select “Value.”
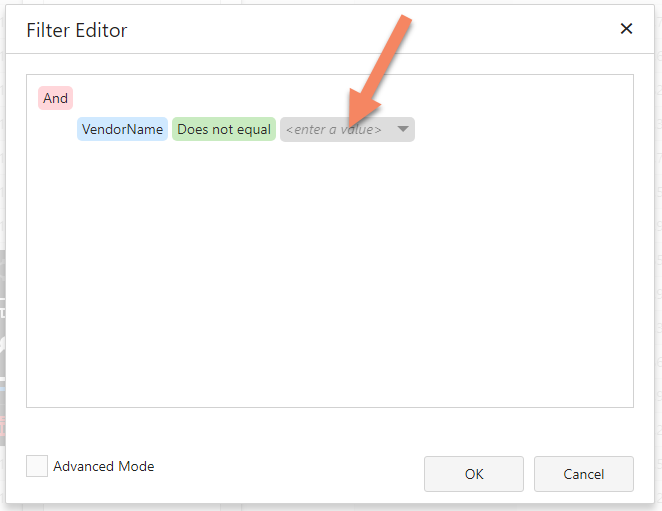
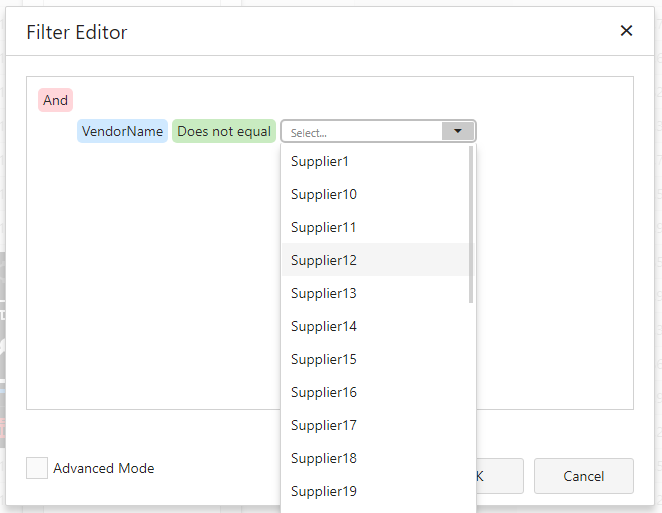
Step 8 (cont’d) – Click into the grey “enter a value” field, and select the desired vendor from the list.
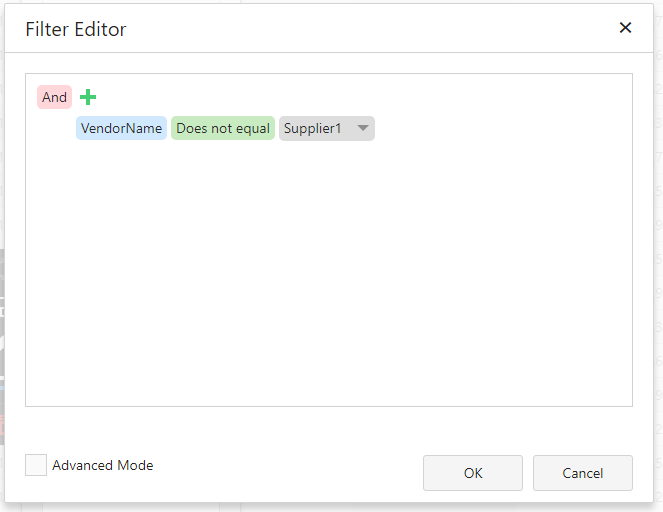
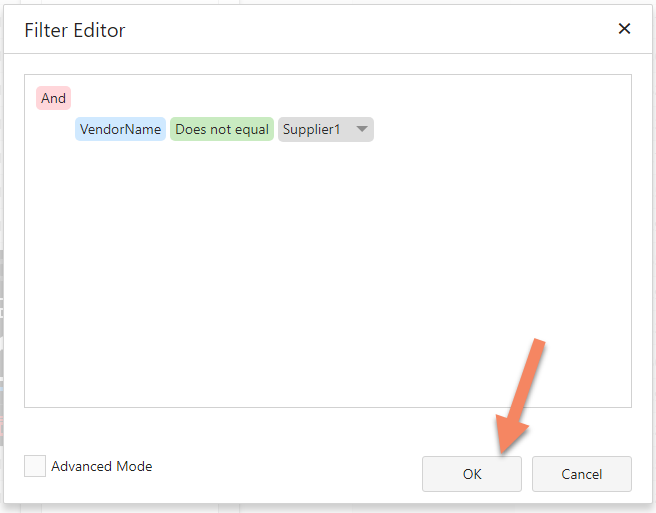
Step 8 (cont’d) – You can add more criteria by hovering over the green plus sign and repeating step 8. When you are finished, click OK.
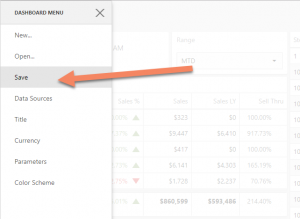
Step 9 – Save your changes by clicking the main menu icon in the top left of the dashboard. Then click “Save.” You can rename the dashboard by clicking “Title.”